Running Playwright Tests on Pull Requests
- Kubernetes cluster set up that is connected to Signadot. See quickstart for details.
- HotRod application installed in the cluster. See quickstart for details.
Overview
Traditionally, after integrating new features into an application, it's common practice to run end-to-end tests in a staging or pre-production environment post-merge to catch any issues that might disrupt existing functionalities. However, this approach can sometimes delay the identification of errors until after changes are merged, potentially complicating fixes and impacting development flow. In this tutorial, we pivot from this conventional method by exploring how to leverage Playwright for end-to-end (e2e) testing directly at the Pull Request stage.
In this tutorial, we will use a demo application to show how you can run tests on a Pull Request in Kubernetes using Signadot.
App & Test Setup
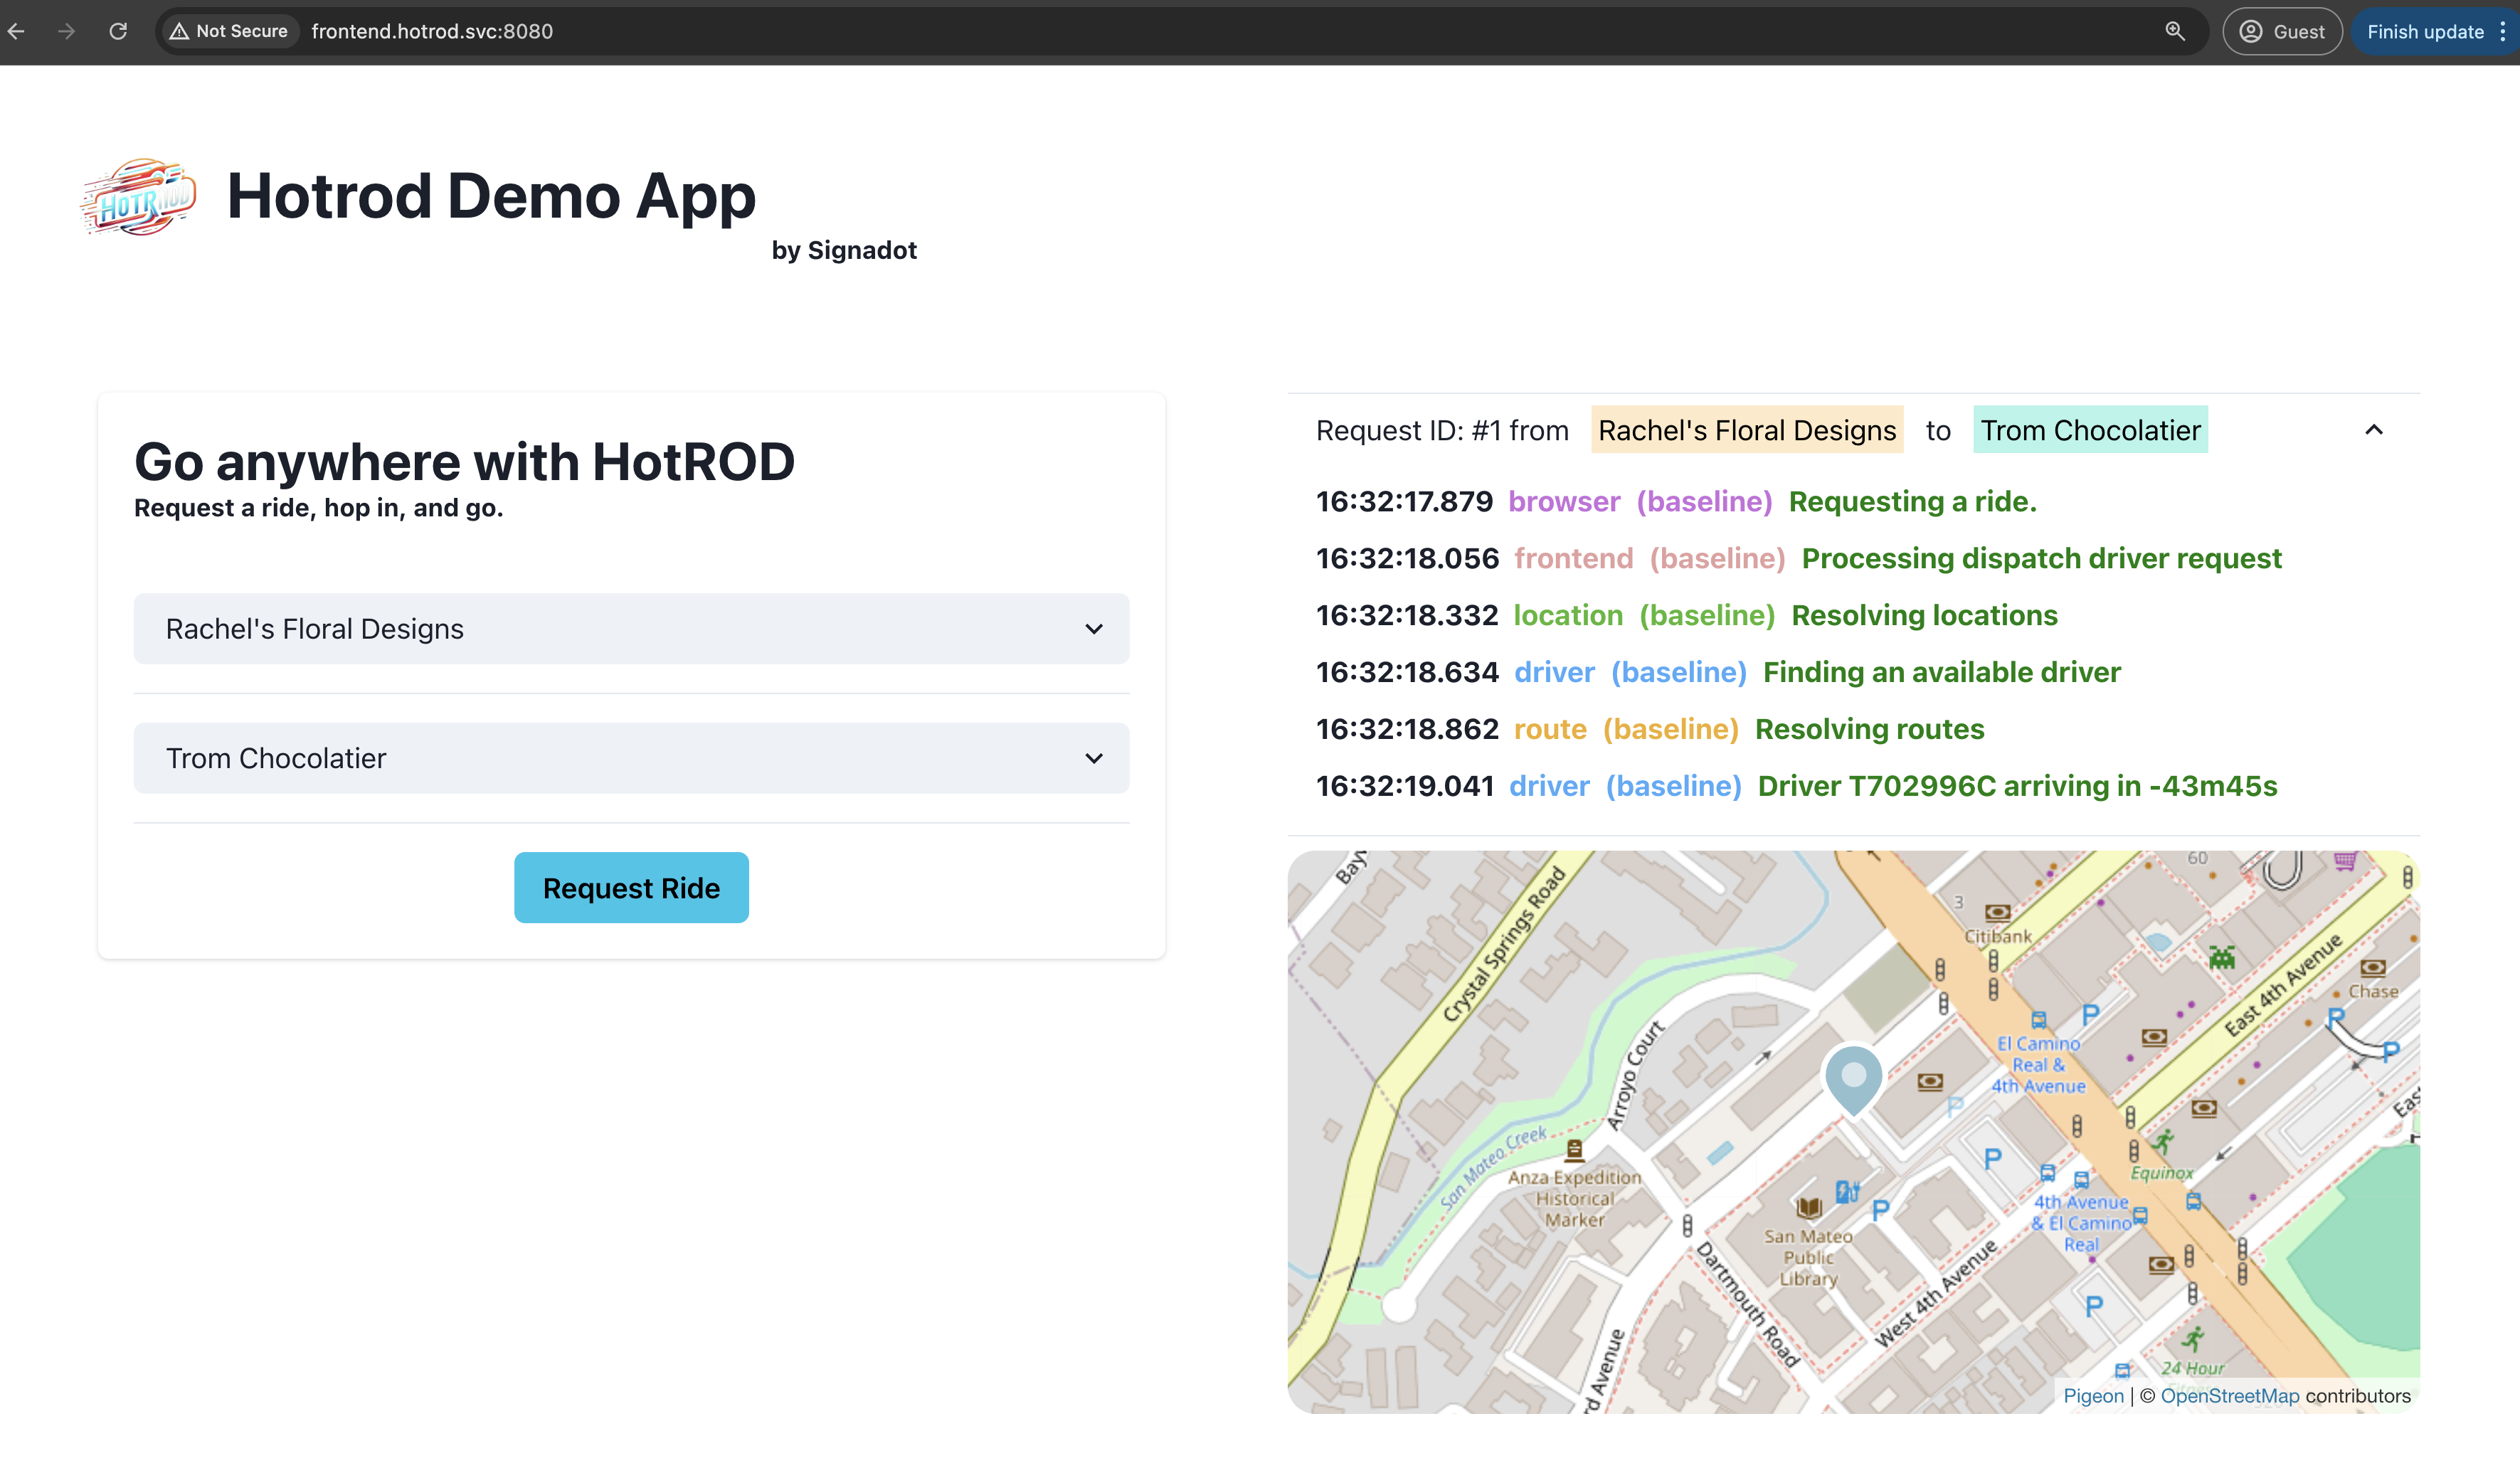
We'll be using HotROD as our application. It is a simple ride-sharing application that allows users to request rides to one of 4 locations and have a nearby driver assigned along with an ETA.
It consists of 4 services: frontend, location, driver and route, as well
as some stateful components like Kafka, Redis, and MySQL. However, our primary
focus will be on the frontend since we aim to write tests that ensure a
critical flow works well using an e2e test. This approach allows us to verify
the entire application's functionality and ensure that critical user journeys
remain intact as we introduce changes, before a PR containing changes to any of
the microservices even merges.
Before proceeding, please ensure that you have created the HotRod demo application on your cluster, and that you have connected the cluster to Signadot, as shown in the quickstart.
Playwright Test
Let's proceed with the following Playwright test checked into the hotrod repository. This test will be used as the basis for the tutorial. You can clone the above repository to follow along. Below, we'll call attention to specific parts of the playwright tests in the repository to explain how it has been modified to run on Pull Requests.
import { test, expect } from "@playwright/test";

test.describe("Request a ride", () => {
    test("check route resolve routes", async ({ page }) => {
        await page.goto("/");
        await page.waitForLoadState();

        await page.getByRole("combobox").first().selectOption("1");
        await page.getByRole("combobox").nth(1).selectOption("123");
        await page.getByRole("button", { name: "Request Ride" }).click();

        await expect(
            page.locator("//div[p[2][contains(text(), 'route')]]/p[4]"),
        ).toHaveText("Resolving routes")
    });

    test("check driver series", async ({ page }) => {
        await page.goto("/");
        await page.waitForLoadState();

        await page.getByRole("combobox").first().selectOption("1");
        await page.getByRole("combobox").nth(1).selectOption("123");
        await page.getByRole("button", { name: "Request Ride" }).click();

        await expect(
            page.locator("//div[p[2][contains(text(), 'driver')]]/p[4]").last(),
        ).toHaveText(/.*T7\d{5}C.*/);
    });
});
First, please note the base URL in the test configuration. We'll update the
playwright.config.ts file to set http://frontend.hotrod.svc:8080 as the base
URL. This URL format is the in-cluster DNS name used by Kubernetes to access the
frontend microservice. Since our tests are executed within Kubernetes using
Signadot, this URL will be accessible during testing.
import { defineConfig, devices } from '@playwright/test';

export default defineConfig({
  testDir: './playwright-tests',
  fullyParallel: true,
  forbidOnly: !!process.env.CI,
  retries: process.env.CI ? 2 : 0,
  workers: process.env.CI ? 1 : undefined,
  reporter: 'html',
  use: {
    // This value could be also an env var like process.env.BASE_URL
    baseUrl: `http://frontend.hotrod.svc:8080`,
    trace: 'on-first-retry',
  },
  /* Configure projects for major browsers */
  projects: [
    {
      name: 'chromium',
      use: { ...devices['Desktop Chrome'] },
    },
    {
      name: 'firefox',
      use: { ...devices['Desktop Firefox'] },
    },
    {
      name: 'webkit',
      use: { ...devices['Desktop Safari'] },
    },
  ],
});
What we did?
- Playwright will load the browser initially to the specified URL
- The test has the following two assertions:
routeservice to containResolving routesdriverservice to use/.*T7\d{5}C.*/as series. Eg:T750736C
Injecting Routing Context
To make a test run in the context of a sandbox, we need to inject the Routing
Key
to the test execution. The Signadot test execution environment automatically
provides an environment variable called SIGNADOT_ROUTING_KEY which we can use
to set within the Playwright test using the extraHTTPHeader parameter.
import {defineConfig, devices} from '@playwright/test';

export default defineConfig({
   testDir: './playwright-tests',
   fullyParallel: true,
   forbidOnly: !!process.env.CI,
   retries: process.env.CI ? 2 : 0,
   workers: process.env.CI ? 1 : undefined,
   reporter: 'html',
   use: {
      // This value could be also an env like process.env.BASE_URL
      baseUrl: `http://frontend.hotrod.svc:8080`,
      trace: 'on-first-retry',
      extraHTTPHeaders: {
         baggage: `sd-routing-key=${process.env.SIGNADOT_ROUTING_KEY}`,
      },
   },
   /* Configure projects for major browsers */
   projects: [
      {
         name: 'chromium',
         use: {...devices['Desktop Chrome']},
      },
      {
         name: 'firefox',
         use: {...devices['Desktop Firefox']},
      },
      {
         name: 'webkit',
         use: {...devices['Desktop Safari']},
      },
   ],
});
Automatically Injecting Routing Context
If you are running Operator v0.18+, there is a feature that allows automatically injecting the routing context into all outgoing requests. That can be done as follows:
spec:
  namePrefix: hotrod-playwright-e2e
  runnerGroup: playwright
  script: |
     ... script
  routingContext:
    sandbox: "@{sandbox}"
  trafficManager:
    injectRoutingKey: auto
  uploadArtifact:
    - path: hotrod/playwright-report/index.html
    - path: hotrod/playwright-report.tar.gz
For more details and caveats, please look at trafficManager.
Testing using Signadot
Having made the test context-aware, we aim to execute the tests within the cluster where all services are hosted. To initiate the test runs, it's essential first to create a Job Runner Group (JRG). A Job Runner Group is a set of pods in the Kubernetes cluster that can run jobs on the user's behalf.
Job Runner Group
name: playwright
spec:
  cluster: "@{cluster}"
  namespace: signadot
  jobTimeout: 30m
  image: mcr.microsoft.com/playwright:v1.45.1-jammy
  scaling:
    manual:
      desiredPods: 1
This is the specification for the Job Runner Group that will be used to run the
playwright test. Note that we're setting the namespace to signadot but you
could choose a different Kubernetes namespace for your Job Runner Group.
signadot jrg apply \
 -f .signadot/testing/playwright-runner.yaml \
 --set cluster=<my-cluster-name>
Check JRG status
You can check the status of the Job Runner Group using the following command:
signadot jrg get playwright
Next, we can start running jobs on our newly created Job Runner Group. Jobs are specified as YAML files also. For example, our playwright test that we discussed above can be packaged into a Job as follows:
Job
spec:
  namePrefix: hotrod-playwright-e2e
  runnerGroup: playwright
  script: |
    #!/bin/bash
    set -e

    # Clone the git repo
    echo "Cloning signadot repo"
    git clone --single-branch -b "@{branch}" \
      https://github.com/signadot/hotrod.git

    # Run all playwright tests
    cd hotrod

    export HOTROD_NAMESPACE="@{namespace}"
    export CI=true

    npm ci
    set +e
    yarn playwright test
    E2E_EXIT_CODE=$?
    set -e

    tar czf playwright-report.tar.gz playwright-report

    exit $E2E_EXIT_CODE
  routingContext:
    sandbox: "@{sandbox}"
  uploadArtifact:
    - path: hotrod/playwright-report/index.html
    - path: hotrod/playwright-report.tar.gz
Note how the job specification clones the signadot/hotrod repository
and runs the playwright test and then uploads some artifacts.
Run Test on the Baseline
First, we'll run our test exactly as-is on the stable baseline version of the application.
signadot job submit \
  -f .signadot/testing/demo-playwright-job.yaml \
  --set sandbox="" \
  --set branch="main" \
  --attach

We're using variables using which, we can set a
--sandbox parameter. If we leave it empty, we will run against the
baseline.
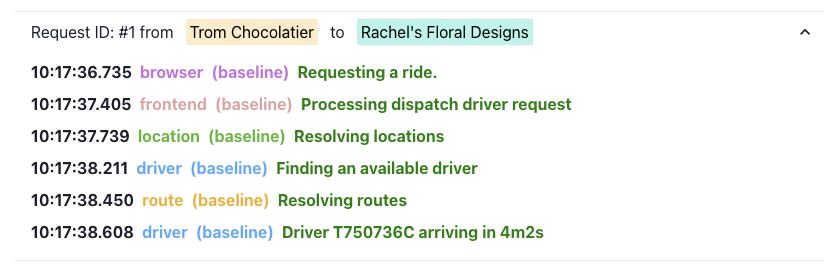
This job is expected to succeed and validate that our application loaded, and was able to request a ride and get a driver assigned that is validated in our test.
Run Test on a Sandbox
Now, let's assume someone creates a Pull Request to change the driver microservice. A sandbox is deployed for that change using Signadot - typically from CI, but in this tutorial for demonstration purposes, we will create such a sandbox manually.
name: new-series-driver
spec:
   description: Change driver series
   cluster: "@{cluster}"
   forks:
      - forkOf:
           kind: Deployment
           namespace: hotrod-istio
           name: driver
        customizations:
           images:
              - image: >-
                   signadot/hotrod:8b99a5b2ef04c4219e42f3409cd72066279fd0e4-linux-amd64
                container: hotrod
- Run with UI
- Run with CLI
Click the button below to open and run this spec on Create Sandbox UI.
Run the below command using Signadot CLI.
# Save the sandbox spec as `new-series-driver.yaml`.
# Note that <cluster> must be replaced with the name of the linked cluster in
# signadot, under https://app.signadot.com/settings/clusters.

% signadot sandbox apply -f ./new-series-driver.yaml --set cluster=<cluster>

Created sandbox "new-series-driver" (routing key: dxux1yyzbrb0g) in cluster "<cluster name>".

Waiting (up to --wait-timeout=3m0s) for sandbox to be ready...
✓ Sandbox status: Ready: All desired workloads are available.

Dashboard page: https://app.signadot.com/sandbox/id/dxux1yyzbrb0g

The sandbox "new-series-driver" was applied and is ready.
Once we create the above sandbox, we can now run the same job that we specified above for the Playwright Test against that sandbox as follows:
signadot job submit \
      -f .signadot/testing/demo-playwright-job.yaml \
      --set sandbox=new-series-driver \
      --set branch="main" \
      --attach

This second job is expected to fail and this is because the change that we made to the driver microservice has actually caused a regression. Now, we can provide this feedback to the developer and thereby ensure that the regression is fixed before they merge their Pull Request, thereby ensuring that the critical flow we were testing is fixed early in the development lifecycle.
Conclusion
In this tutorial, we looked at how Sandboxes and Jobs can be used with Playwright E2E tests to run them to validate Pull Requests. Furthermore, this can be integrated with your preferred CI/CD tool. For more details on configuring this, please refer to the run automated tests on PR guide.